A Warm Reminder from BimBo:

Hello Dr.Ken,
Please use "Google Chrome" to view our group website.
Thank you.

The blog update:
The Ori : Oh Hwei Qi and Lee Jia Xiang
Resorts : Ng Chee Wei
Activities : Ho See Wei
Transportation : Ricky


Because Sir might wanna know which of us incharge in which part, so I listed down here, but actually we did it together.

Thursday 8 September 2011

[BimBo] _ The Design for Small Buttons

1. Feedback Button


For feedback button, we also used "Microsoft PowerPoint" to design it.
Click on "Insert" ---> "Shapes" and choose "Rounded Rectangular".

After you draw out the shape out, a new tab called "Drawing Tools". Under this tab, you can design your thing in different ways. We choose Red color as our background color for the shape, then choose the fifth design.

Next, click on the Rectangular then right click, choose "Add Text" to write word inside the shape.

Then, do the same steps and choose the last design for it, right click it and add text to the shape.

Save both as picture, open PhotoScape"
Click on the "Animated GIF"

1 > Choose the pictures that you from the folders and drag it out to "Place 2".
2 > You can change time for each of the picture by right click on the picture and change display time. OR, if you want some of the pictures in different display time/effects, click on the picture that you want and right click it.
3 > If you want all of the pictures have the same display time and same display effect, you can change it at "Place 3"
4 > This is the place where you can see the animation.

Click on it to see the effect.
This is the end result.

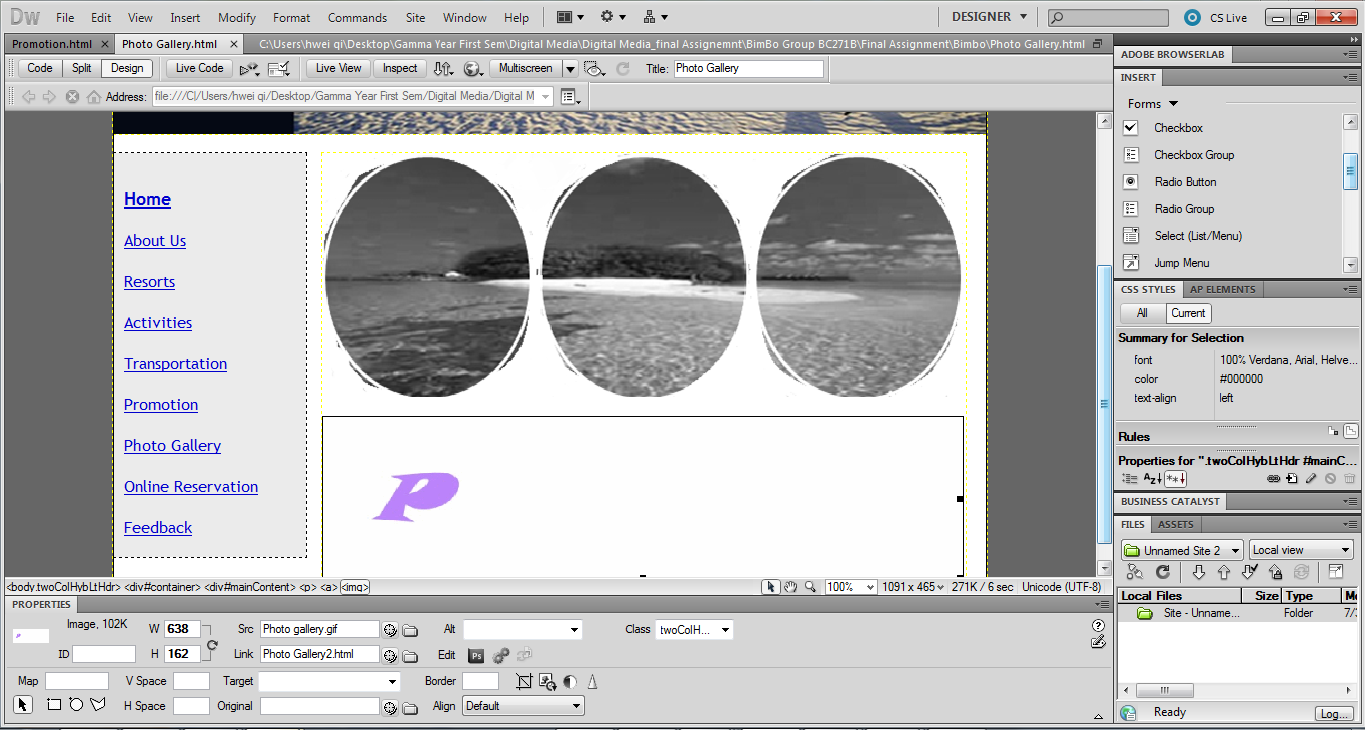
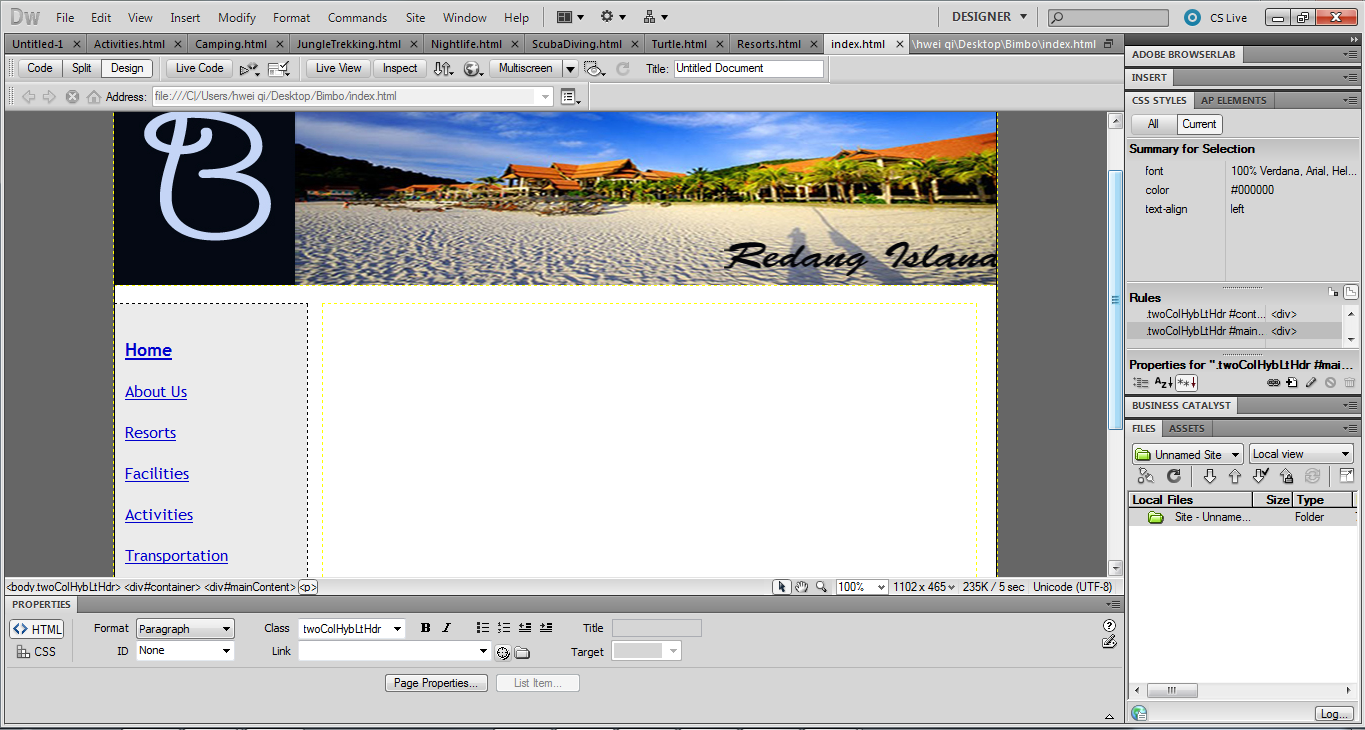
Insert it into the Dreamweaver and link it to "Feedback2.html" Folder.

From Google view, 

You can see a box at the right side of Dreamweaver.
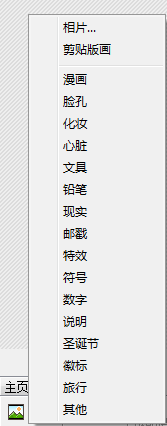
At the "Insert" box, click on the "Forms" and choose the function that you want.
You can found "Radio button" from there. "Radio button" is button that you can see on our Feedback page, the "SEX" options.


2. The "Proceed button" for "Online Reservation"

Our end result of "Proceed" button for "Online Reservation".
Please click on it to see the effect.

Here is the process on how to do it.
We design the FootPrint using the "Shape" tool in "Microsoft PowerPoint"
We draw different size of FootPrint and rotate it to different ways.

We PrintScreen each of the FootPrint and save it as picture.

Next, move to "PhotoScape"
Choose "Editor"
Before that, PrintScreen" one part of the white color background picture from "Paint"/"Microsoft Words"/"Microsoft PowerPoint", save it.
Insert the white background picture on the "Editor", make the size as 338px X 142px. 

Then, put one of the FootPrint picture in, place on the right place. Save as another file.
Delete the previous FootPrint, put another in, change the place, save it.
Repeat the same steps.


Click on "Animated GIF".
Put all the pictures in, arrange it and change the display time. DONE!


Sunday 4 September 2011

[BimBo] _ The Design

1. The Main Page of Photo Gallery
This is the picture that I used for the main page of Photo Gallery.
So now I'm going to design it.

I want to draw three circles to separate the picture into three parts just like picture below.
Because it's very difficult to draw three same size of circles using "Paint", so I change to use "Microsoft Word" to draw three same size of circles.(or you can also use "Microsoft PowerPoint" to do it)

Click "Insert" ---> "Shapes" ---> choose circle, draw it, adjust the size you want, then press "Ctrl+c" ---> "Crtl+v", the same size of circle will appear. Then adjust it to the place that I want. 
If the size is too big or too small, press one of the circle, then press "Shirt" (dnt let go), click on the other two circles, adjust the size of circles now.
Group all the things together, right click, save as picture, move it to "Paint" for the next step.

Use "Curve line" to draw the curve first, so that you won't color over the line.
(as shown below)
Do it to the other two circles, then use the "Brush tool" and color the outside part. (as shown below)
Zoom the picture when you want to color it.

After finish color it,
Maybe you will feel that I didn't color it nicely and perfectly cause you still can some white dots there, but for me, it's consider as part of my design.

Move the picture to "Microsoft Word" or "Microsoft PowerPoint", 
under the "Piture Tool", click on the "Color" to change the color of the picture. 
(as shown below)

This is the Final look of the picture! 

It will look very plain if I just put this picture as main page of the Photo Gallery, so I decided to add some words and make the words moving.
To make your life easy, you can use "PhotoScape" to do it. (Sorry, because I really not very good in using Adobe Flash)

First, save a blank white paper (as shown below)

Next, use the "Text Tool" to write the first word which is "P" (as shown below)
Then save as another file, next "Ph" save it to another file, repeat the step until finish the words "Photo Gallery"

Click on the photo below to see the effect :)

Now, put it into the Dreamweaver.
Click "Insert" ---> "Image", choose the First picture that I explained just now and then click "Insert" ---> "Image" again, insert the "Photo Gallery" below the picture. 
Just like this (as shown below)

Then, click on the "Photo Gallery" and link it, so that visitors/travelers could proceed to the next page after clicking on it.

We save most of the picture of Redang Island, the resorts, facilities and everything about the Redang Island from redangisland.com (http://redangisland.com/resorts.htm). We clicked every resort and save their pictures and put it in "Photo Gallery".

(in the progress)

[BimBo] _ The process of Promotion part

Now, I will show you how I design for the brochure of the Promotion part.

1. SOS "Save Our Sea" Promotion
First, I saerch for the picture of sea as the background in the words of "SOS"
p/s due to the expired of my photoshop, so Im using the "Paint" to do it.

Second, write the word of "SOS" on it, adjust the font size, font type and also adjust the words on the place that I want. 
(as shown below)

Next, use the "Brush Tool" at the top of the bar, and choose the background color which is WHITE, and cover the part that I dnt want. 
(as shown below)


Be patient on it, haha! Here is the final look.
Before putting it in our website, I must put it in my brochure and start design it. 

I'm using the "PhotoScape" to do it.
Choose the "Text Tool" to write all the info
so this box will appear in the screen, write the words that you want in the white box, choose the font size, font type, font color. (sorry, my PhotoScape is in Chinese version)

And before that, attach the picture of the "SOS", dolphin and turtle pictures on the white color background using "Paint".
By adjusting the transparency of the picture, you can use "Microsoft Word" or "Microsoft PowerPoint" to do it.
After that, write all the infos on it using "PhotoScape".


And this will be the First Brochure for our Promotion!
This is where the idea comes from (http://www.redangpelangi.com/)

2. Family Packages and Student Packages
I'm using "Paint", "PhotoScape" to design for the rest two brochures too! :)
I attach a school bus picture in "Student Package" brochure and also a family who prepare to travel in "Family Package" brochure to attract the attention of visitors/travelers.

Uh huh, you can find many cute pictures from "PhotoScape"
Just click on the red circle button (as shown below)
And this box will appear, you can choose many different categories of pictures, for example, heart shapes, make up, faces, comic, and so on. 

This is some of the examples,
Effects, travels, Christmas, and the last is the Cartoons.

For the Student Package, we wrote "It's holidays!" to attract the visitors/travelers. Then choose the "Travel" category and choose airplane as part of our design.

Next, click on the "Bubble" button to choose the design of the bubbles.
Look and choose for the design of the bubbles that you want :)
Then write "Student Holiday Package",choose the font type, size, and also the color.

And this is the Final look of the "Student Package"

And do the same things to the "Family Package"
"the WARMEST moment" is the main title of the brochure, because every moments that spend with family always the warmest moment in our life !

Change the info of this package and change the design too but using the same skills.

Here is the Final look for the "Family Package".


After finish designed the brochures, now let's put it into the website(Dreamweaver).
Click "Insert" ---> "Image" ----> choose first brochure picture.
Insert also the "Next Page" picture and click on it, and link it to 2nd brochure.
Repeat the same steps for "Family Package" and "Student Package"

The view from the Google site, 

Thats all for the Promotion.

Friday 2 September 2011

Finally!!! :)

Helloooooooo everyone !
Finally we're done our own website, wee~!!
Totally released, woot~!

Hmm hmm... might update bit soon!
See ya!!! Teheeee :P

Wednesday 24 August 2011

Final Assignement

Hello guys, I'm here to show you all my group website, it's not perfect done yet, still in the progress haha :P
Let me show you guys the group layout again in case you guys frgt haha

As you guys see from the website layout, our group need to design our own logo and also banner for the website.
This will be the group logo that we designed.
"B" representing our group name BimBo. Maybe it's too simple to you guys, but simple things always look nice. No choice, we love simple things instead of complicated things xD

Next, this will be the banner of the website.
Yeap, it looks simple also hehe.

The combination of the group logo and banner will be like this>>>
How was it? Hehe xD

So now, let start using dreamweaver to create our group website.
I bet you guys knw how to use dreamweaver very well :P At least better than us haha.
Hmm hmm... this is how it look like after I had put my logo, banner and linked all the links.
This is how the home page looks like, sorry very hard to show you guys the whole thing in Dreamweaver.
The next picture is where you using the search engine to open our works, you can see the full view of the homepage.
Sorry for the empty space of the homepage, cause it's still under processing. Hehe.

Hello, here will be the latest homepage :)

We will design our website becuase it's quite empty there.
So stay tunned, guys, will be update reallllll soooooon :)

(...in the progress...)

By Oh Hwei Qi & Lee Jia Xiang